20% Off Acrylic Prints and Blocks
Hurry, Offer Ends 06/12/2026
Get The Details
Here are some tried-and-true print mediums that make every image look its best.
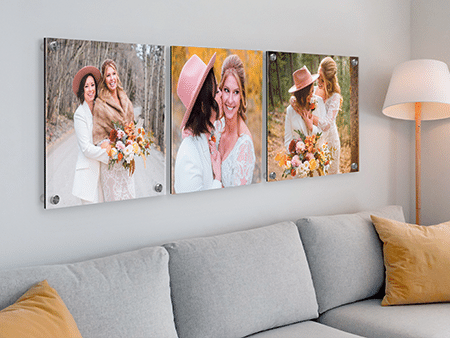
Create gorgeous wall art displays from your photos or artwork.
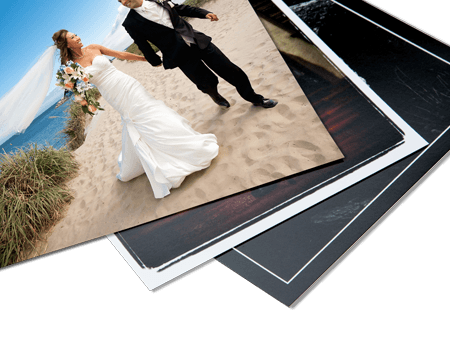
Timeless silver halide prints on your choice of 10 professional photographic paper surfaces.
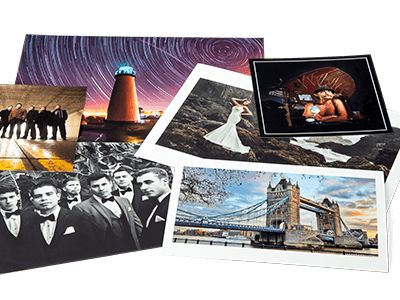
Our premium archival inks produce images with smooth tones and rich colors.
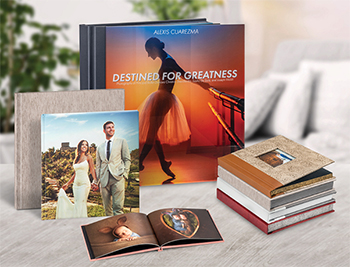
Custom-made to commemorate life's most special moments.